
Daikin air‑conditioner remotes simplify room climate control. The manual explains button functions, safety symbols, and installation steps. It covers wired SIG and Zigbee models, wireless features, and model‑specific sensors like CTXM15M2V1B. Follow the guide for proper use. Use responsibly and safety

Safety Precautions and Warning Symbols
Daikin remote manuals display warning symbols: ⚠️ for hazards, ⚠️ for caution, and ℹ️ for notes. Follow these to avoid injury or damage. Only licensed installers should handle wiring or relocation. Store the manual with the operation guide for future reference. Read carefully. Keep it handy.! Stay safe.!
WARNING, CAUTION, and NOTE Symbols
Daikin remote manuals feature three distinct symbols that communicate safety information at a glance. The WARNING icon—usually a bold exclamation mark inside a triangle—alerts users to immediate hazards that could cause serious injury or damage if ignored. The CAUTION symbol, a yellow triangle with an exclamation point, signals potential risks that require careful attention to avoid moderate harm or equipment damage. The NOTE icon—a blue circle with an “i”—provides helpful information, reminders, or clarifications that enhance safe operation but do not indicate a direct danger. Each symbol is accompanied by concise text that explains the specific risk or instruction. For example, a WARNING may read “Do not touch exposed wiring while the unit is powered” and a CAUTION might state “Only licensed installers may perform wiring or relocation.” Notes often include tips such as “Store the manual with the operation guide for future reference.” By following these symbols and their accompanying instructions, users can prevent accidents, maintain equipment integrity, and ensure compliance with Daikin’s safety standards. Ignoring a WARNING can lead to severe injury, while overlooking a CAUTION may result in equipment malfunction or reduced lifespan. read respect every symbol before operating or servicing remote control or air conditioning unit itself. Keep it dry!!
Always keep remote within reach and avoid exposing it to moisture or extreme temperatures. Stay!!!
Licensed Installer Requirement

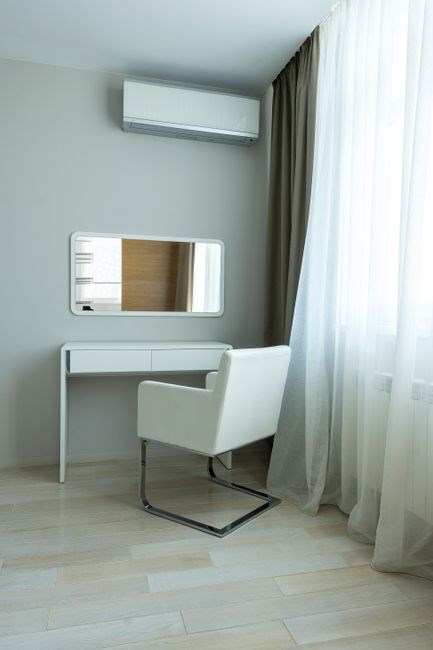
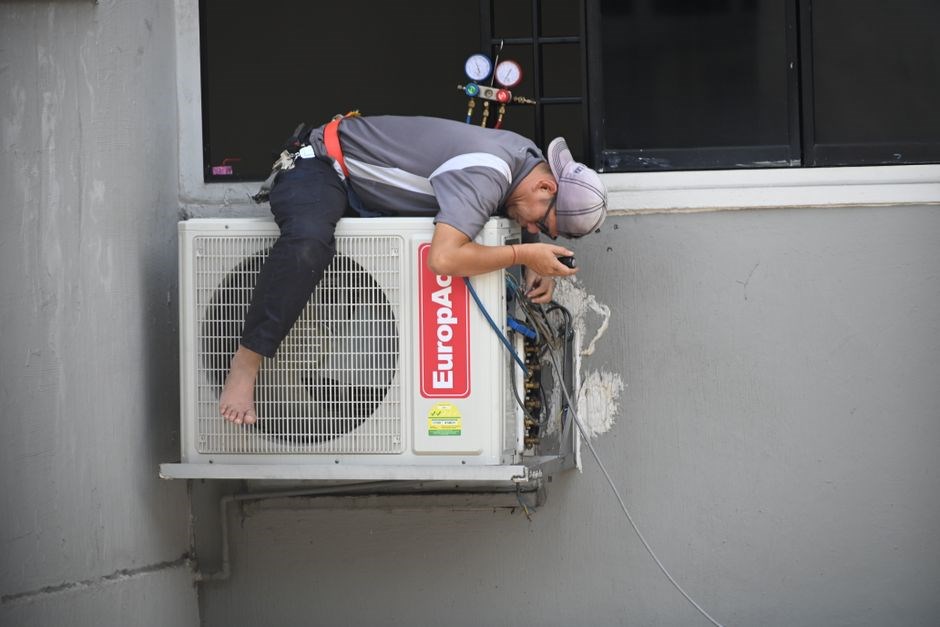
Daikin air‑conditioner units and their remote controls are built for optimal performance only when installed and maintained by certified professionals. The installation manual clearly states that all wiring, mounting, and relocation work must be performed by a licensed installer or contractor. This requirement is a legal and safety obligation that protects both the consumer and the equipment. An unqualified individual may create electrical hazards, compromise the refrigerant circuit, or damage internal components. Improper installation can void the warranty and lead to costly repairs. Daikin’s licensing program ensures installers have the technical knowledge, tools, and safety training needed for local electrical codes, refrigerant handling, and model‑specific tolerances such as CTXM15M2V1B and FTXM20M2V1B. Before installation, the installer verifies the correct model, confirms compatibility with the building’s electrical supply, and performs a thorough site assessment. They conduct a post‑installation test to confirm reliable communication between the remote and indoor unit and that all safety features—emergency shut‑off, low‑pressure protection—are operational. The manual advises customers to keep the installation certificate and contact their local Daikin dealer for future relocation or service. Adhering to the licensed installer requirement ensures safe, efficient operation and full compliance with Daikin’s quality standards.
Many jurisdictions mandate licensed installers for HVAC systems containing refrigerants or high‑voltage components. Daikin’s policy aligns with these regulations, emphasizing that only professionals who have completed accredited training can handle refrigerant recovery, charge, and disposal. Failure to comply may result in fines, penalties, or the need to dismantle and reinstall the unit. The installer also inspects the surrounding area for proper ventilation, grounding, and secure mounting, and documents all steps in a service report for warranty claims. The manual notes that if the remote controller is lost or damaged, a replacement must be ordered through a Daikin dealer, and the new remote should be paired by a licensed technician to ensure correct communication protocols. This protects users from counterfeit devices that could interfere with operation or compromise safety. Ultimately, the licensed installer requirement is a cornerstone of Daikin’s commitment to safety, reliability, and customer satisfaction. Customers are encouraged to retain all documentation for warranty and future service; The installer’s certification also guarantees that the unit meets local environmental standards, reducing energy consumption and emissions. By following this requirement, homeowners avoid costly repairs and ensure regulatory compliance. This proactive approach safeguards both the user and the environment.
Remote Controller Types and Technologies
Daikin offers wired SIG and Zigbee Alliance remotes, plus wireless models with features. Wired units provide stable signals, while wireless remotes support home integration and remote monitoring. Choose the type that matches your system’s compatibility.
Wired Remote Controller (SIG, Zigbee Alliance)
Daikin’s wired remote controllers use the SIG (Serial Interface Gateway) protocol and are also certified by the Zigbee Alliance for enhanced interoperability. The wired design ensures a reliable, low‑latency connection between the handset and the indoor unit, making it ideal for installations where wireless interference is a concern. These remotes feature a durable metal housing, a clear LCD display, and a set of tactile buttons that provide immediate feedback. The SIG protocol allows the remote to transmit power, mode, temperature, fan speed, swing, and timer commands directly to the unit’s control board. Because the signal is transmitted through a physical cable, the remote is immune to common wireless obstacles such as walls, other electronics, or signal congestion. Installation is straightforward: the cable is connected to the indoor unit’s designated port, and the remote is powered by a standard 9V battery. The Zigbee certification ensures that the wired remote can coexist with other Zigbee devices in the home, allowing for future integration with smart home hubs. Safety precautions include keeping the cable free of sharp edges, avoiding excessive bending, and ensuring that the remote’s battery compartment is sealed to prevent moisture ingress. The manual advises that only licensed installers should handle the cable connection to avoid damage to the unit’s internal circuitry. When operating the remote, users should keep the handset within the line of sight of the indoor unit to maintain optimal signal strength. The wired remote also supports a “quick‑connect” feature that allows the user to toggle between different preset modes with a single button press, streamlining the user experience. Overall, the wired SIG and Zigbee Alliance remotes offer a robust, interference‑free solution for Daikin air‑conditioner control, combining reliability with the flexibility of future smart‑home integration.
Wireless Remote Controller Features
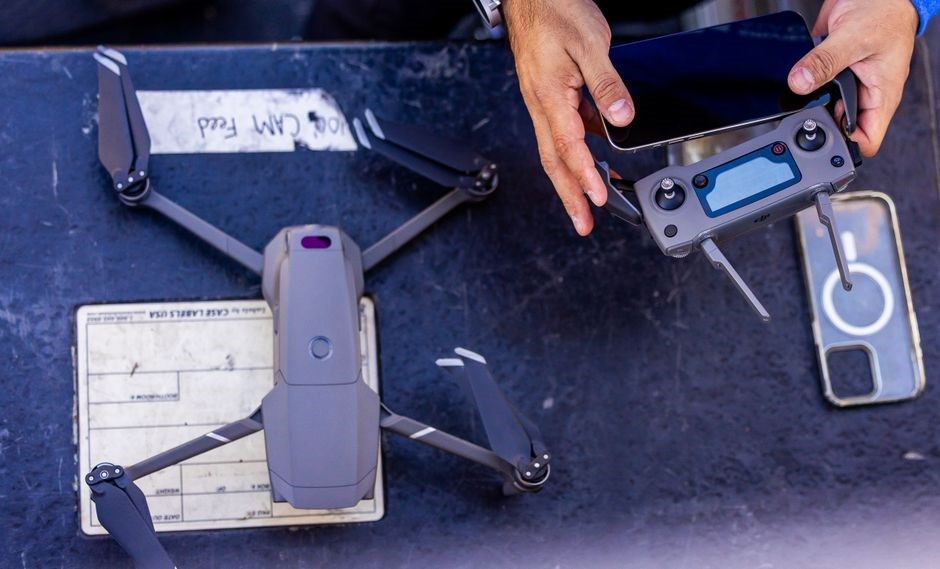
Daikin wireless remotes employ advanced infrared and radio‑frequency technologies to deliver seamless control over the indoor unit. The handset features a compact, ergonomic design with a high‑contrast LCD display that shows current temperature, mode, fan speed, and timer settings. Users can switch between cooling, heating, dehumidifying, and fan‑only modes with a single button, while the temperature dial allows precise increments of 0.5 °C. The remote also includes dedicated buttons for turbo, quiet, and sleep modes, each providing distinct fan speed profiles to match user preferences. A programmable timer lets you set start and end times, and the device automatically turns the unit on or off according to the schedule. The wireless protocol supports a 2.4 GHz band, ensuring minimal interference from household appliances. The remote’s battery compartment is designed for easy replacement, and the unit displays a low‑battery indicator on the LCD. For added convenience, the handset can be paired with a smartphone app via Bluetooth, allowing remote control from anywhere in the home. The manual emphasizes that the wireless remote should be kept within line of sight of the indoor unit to maintain optimal signal strength, and that the user should avoid placing the handset near metal objects or thick walls that could block the signal. Update Overall, Daikin’s wireless remote offers a user‑friendly interface, reliable connectivity, and a range of programmable options that enhance comfort and convenience.
Key Buttons and Functions
The remote’s key buttons: Power, Mode, Temp, Fan, Swing, Timer, Turbo, Quiet, Sleep, Clock, Cancel. Power toggles on/off; Mode cycles cooling/heating/fan/dehumidify. Temp sets temperature; Fan selects speed; Swing moves vents; Timer sets start/stop. Turbo boosts airflow; Quiet lowers noise; Sleep dims display; Clock shows time; Cancel clears timer.
Power, Mode, Temperature, Fan Speed, Swing, Timer
The Power button is the first point of contact between the user and the Daikin air‑conditioner. A single press turns the unit on; a second press turns it off. The Mode button cycles through the available operating modes: cooling, heating, fan‑only, and dehumidification. Each press advances to the next mode, and the display shows the current selection; The Temperature button allows the user to set the desired indoor temperature. Pressing the button increases or decreases the setpoint in one‑degree Celsius increments, with a typical range from 16 °C to 30 °C, depending on the model. The Fan Speed button offers four options: low, medium, high, and auto. In auto mode the system automatically adjusts fan speed based on temperature and humidity changes. The Swing button controls the movement of the air‑flow vents. Some remotes provide vertical swing, horizontal swing, or both; pressing the button toggles between these positions. The Timer button is a powerful scheduling tool. By pressing it, the user can set a start time or a stop time for the unit. The remote displays the selected time, and the unit will automatically power on or off at the programmed moment. When using the Timer, it is advisable to double‑check the time format (24‑hour or 12‑hour) to avoid unexpected behavior. Proper use of these buttons ensures efficient operation, energy savings, and a comfortable indoor environment. For detailed model‑specific instructions, consult the Daikin user guide or contact your authorized dealer for assistance!!!??
Turbo, Quiet, Sleep Modes
The Turbo mode delivers maxmum cooling or heating power for a short period, helping to reach the set temperature quickly. Press the Turbo button once to activate; the display shows “Turbo” and the fan speed jumps to the highest setting. The mode automatically turns off after a preset time, typically 30 minutes, to conserve energy. The Quie mode reduces fan noise by lowering the fan speed while maintaining the desired temperature. This mode is ideal for bedrooms or quiet workspaces. When activated, the display indicates “Quiet” and the fan speed is set to the lowest comfortable level. The Sleep mode is designed for nighttime use. It gradually adjusts the temperature and fan speed according to a pre‑programmed schedule, often starting at a cooler temperature and increasing slowly to prevent sudden drafts. The Sleep button toggles the mode on or off; the display shows “Sleep” and a timer icon. During Sleep mode, the unit also suppresses the audible start‑up sound, providing a silent environment. All three modes can be combined with the Timer feature for precise control. For example, setting Sleep mode to start at 10 PM and end at 6 AM ensures a comfortable night’s rest. Always refer to the specific model’s manual for exact button sequences and timing intervals, as they may vary between units. Using these modes appropriately can improve comfort, reduce noise, and save energy. Seasonal presets adjust automatically to match weather changes.Battery life is indicated by a flashing lamp;
Timer Cancel, Clock, and Cancel Functions
The Daikin remote’s timer functions let you schedule operation without input. The Clock button shows the current time and lets you set the unit’s internal clock; press it once to enter time‑setting mode, then use the up/down arrows to adjust hours and minutes. After confirming, the display returns to normal mode. The Timer button activates the on/off schedule. Press it to enter timer mode, then set the desired start and end times. The unit will power on at the start time and shut down at the end time, saving energy when room is unoccupied. If you need to cancel a scheduled timer, press the Timer button again and select “Cancel.” A prompt appears; press OK to delete the timer. The Cancel button can also abort a current operation, such as a temporary boost or fan setting, by pressing it until the display clears the command. These features are useful for overnight use or when you leave the house. Always verify that the time is correct; a mis‑set clock can cause the timer to trigger at unintended hours. The remote’s LED indicators provide confirmation: a steady light means the timer is active, while a blinking light indicates a pending cancellation. For models with a built‑in clock, the time is displayed on the screen and can be adjusted without the remote. The manual gives detailed steps for each model, ensuring users can fully leverage the timing capabilities to improve comfort and energy efficiency. Use the timer to fit your routine!
Indicators and Lamps
The operation lamp lights when the unit is active, while the timer lamp flashes during scheduled on/off periods; A steady operation light confirms normal function; a blinking timer light signals an upcoming change. Check both to troubleshoot or confirm settings. Use lamp OK!
Operation Lamp
The operation lamp on a Daikin air‑conditioner remote and unit indicates the current status of the system. When the lamp is solidly lit, the indoor unit is powered on and actively regulating temperature. A steady green or amber light typically means the system is running in the selected mode—cooling, heating, or fan—without any fault conditions. If the lamp blinks, it usually signals a temporary state such as a fan speed change, mode transition, or a timer activation. A rapid blinking pattern may indicate a fault or error that requires attention; in such cases, consult the error code list in the manual and follow the troubleshooting steps. When the lamp is off, the unit is either switched off or in standby mode, meaning no active cooling or heating is taking place. The lamp’s color and behavior can vary slightly between models; for example, the CTXM15M2V1B model uses a green operation lamp, whereas the FTXM20M2V1B model may display amber. Understanding the lamp’s signals helps users quickly diagnose operational issues and ensures efficient use of the system. Always refer to the specific model’s user guide for precise lamp meanings and recommended actions for each pattern.
Model‑specific variations include a blue lamp for standby, a red lamp indicating a fault, and a green lamp for normal operation. Some units feature a blinking amber lamp to denote a scheduled start or end. Users should note that a steady amber lamp during cooling indicates the fan is running at low speed, while a steady green lamp signifies full‑speed operation. In case of a fault, the lamp will flash red and the user should consult the error code list in the manual. OK
Timer Lamp
The timer lamp on Daikin air‑conditioner remotes and indoor units provides a visual cue that a scheduled operation is active. When a timer is set, the lamp illuminates in a steady amber or yellow hue, indicating that the unit will automatically turn on or off at the programmed time. A blinking timer lamp signals that the timer is counting down to the next scheduled event; the blink rate may vary depending on the remaining minutes. If the lamp remains off, no timer is active. Some models, such as the CTXM15M2V1B, display a green timer lamp during the active period, while the FTXM20M2V1B uses amber. The lamp’s behavior is consistent across wired and wireless remotes, ensuring users can rely on the same visual indicator regardless of control method. To set a timer, press the “Timer” button on the remote, then use the “+” or “–” keys to choose the start or end time. After confirming, the timer lamp will light up. If you cancel the timer by pressing “Timer Cancel,” the lamp will immediately turn off. The timer lamp is also useful for troubleshooting: a flickering lamp may indicate a communication error between the remote and the unit, prompting a reset or firmware update. Always refer to the model’s specific manual for exact lamp colors and patterns, as variations exist across different series and firmware versions. For advanced scheduling, some units support multiple timers, each indicated by a distinct lamp flash pattern that can be customized via the remote’s menu settings. Remember to sync remote after firmware updates!!

Model‑Specific Features
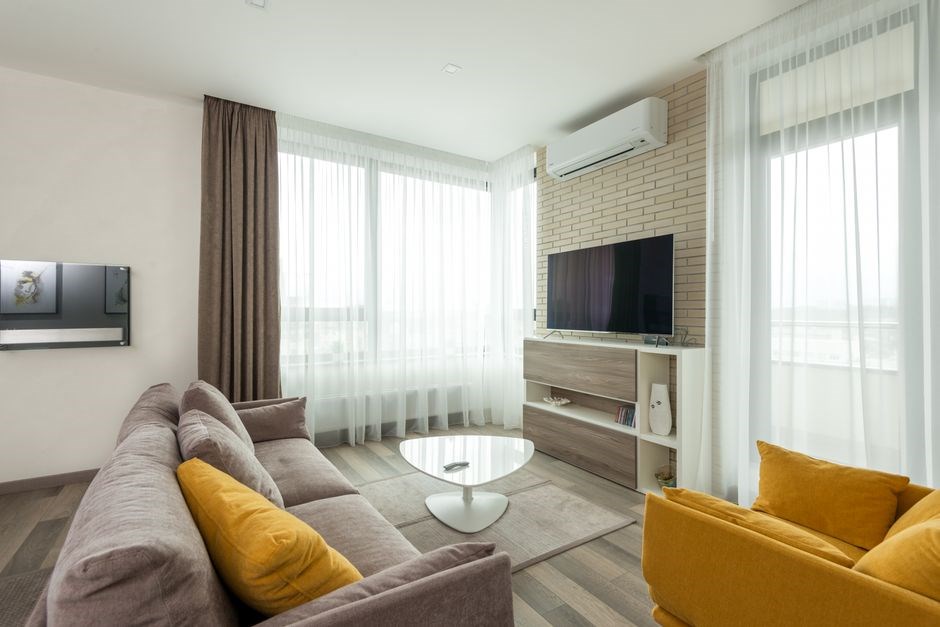
Daikin’s CTXM15M2V1B and FTXM20M2V1B models feature built‑in room‑temperature sensors that auto‑adjust set‑point for comfort. The sensors detect ambient air, enabling precise cooling or heating without manual input. These units also support control and timer settings. now!!

Room Temperature Sensor and Model Examples (CTXM15M2V1B, FTXM20M2V1B)
Daikin’s advanced room‑temperature sensor is integrated into the CTXM15M2V1B and FTXM20M2V1B indoor units, enabling the system to monitor ambient air conditions continuously. By measuring the surrounding temperature, the unit can automatically adjust its cooling or heating output to maintain the user‑selected set‑point with greater precision. This feature eliminates the need for manual temperature changes when the room climate shifts, such as when occupants enter or leave, or when external weather conditions fluctuate. The sensor is calibrated to detect temperature variations within a narrow range, ensuring that the indoor environment remains stable and energy‑efficient. Users can view the current room temperature on the remote’s display or the indoor unit’s LCD panel, providing real‑time feedback. When the sensor detects that the room temperature deviates from the set‑point by more than a preset threshold, the system will trigger an automatic adjustment cycle. This cycle can be configured to either increase or decrease the compressor speed, fan speed, or both, depending on the desired comfort level. In addition, the sensor’s data is used by the unit’s internal algorithm to optimize the sleep mode and quiet mode functions, allowing the system to reduce noise and power consumption during nighttime hours while still maintaining a comfortable temperature. The CTXM15M2V1B and FTXM20M2V1B models also support remote‑control commands that enable users to override the sensor’s automatic adjustments, giving full manual control when desired. The sensor’s placement inside the unit is designed to avoid interference from direct sunlight or drafts, ensuring accurate readings. During installation, the sensor is positioned near the air intake to capture representative room air. The sensor’s data is logged internally, allowing the unit to learn typical temperature patterns and pre‑emptively adjust settings for optimal comfort. This proactive adjustment reduces energy consumption and extends the unit’s lifespan.