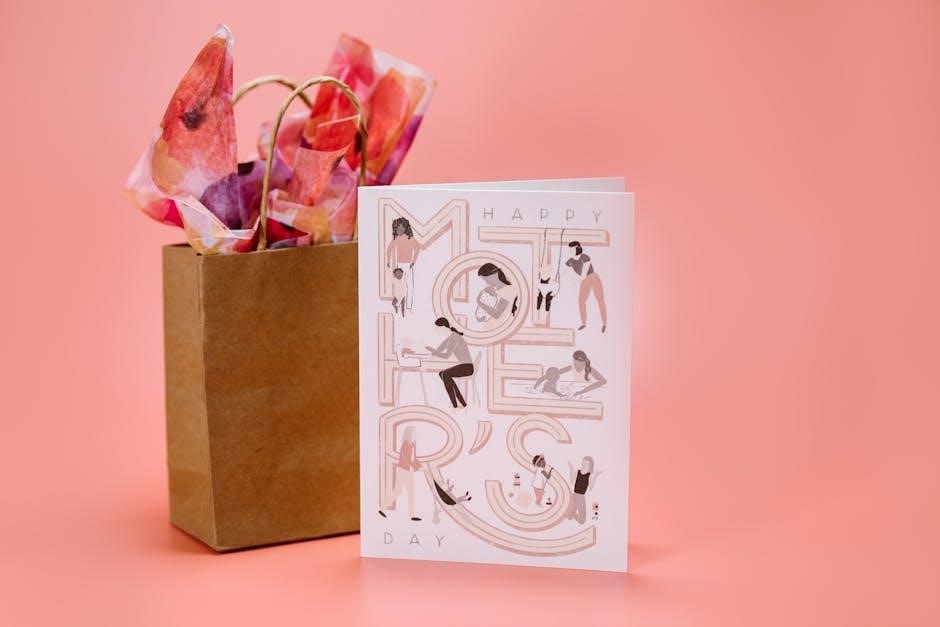
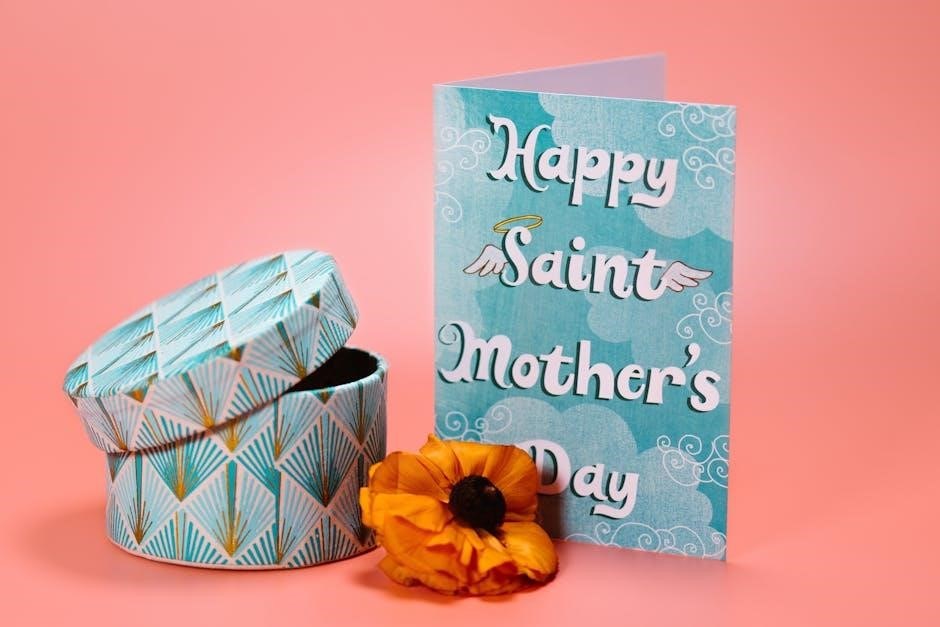
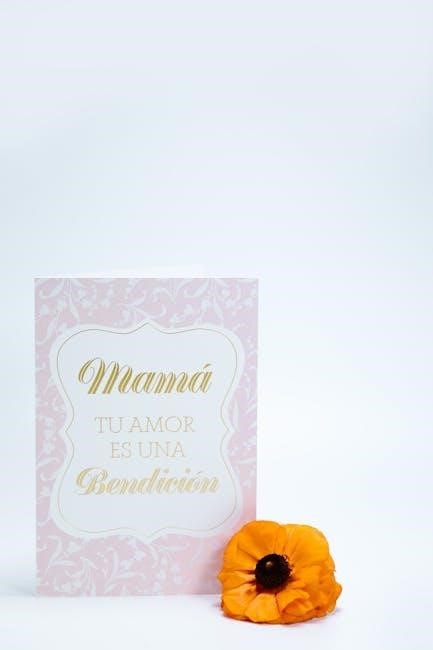
Discover delightful, free printable Mother’s Day coloring cards in PDF format! These charming designs, totaling 13+ and 30+ options, offer a creative and heartfelt way to show appreciation.
Why Coloring Cards are a Special Gift
Coloring a card transcends a simple, store-bought gesture; it’s a deeply personal expression of love and effort. These free printable Mother’s Day cards offer a unique canvas for children (and adults!) to infuse with creativity. The act of coloring itself is mindful and relaxing, transferring those positive feelings onto the gift.
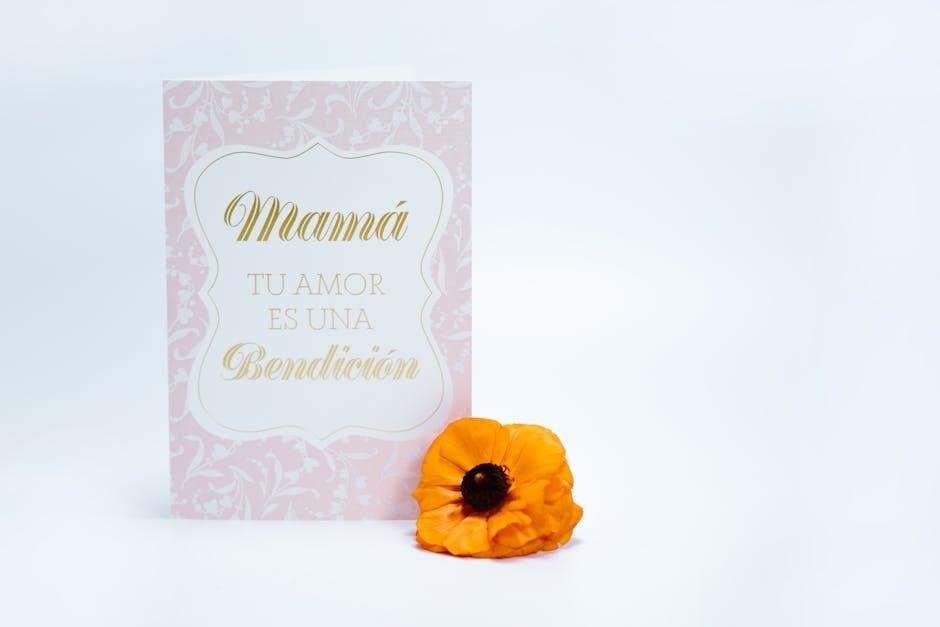
Unlike pre-made cards, a colored card showcases the time and thought invested, making it incredibly special. It’s a tangible representation of affection, far more meaningful than a generic message. With options for “Mom,” “Grandma,” and “Nana,” these PDF printables allow for tailored tributes, blossoming with flowers and heartfelt designs.
The Benefits of DIY Mother’s Day Gifts
DIY Mother’s Day gifts, like these free printable coloring cards, foster a stronger connection than purchased items. The process of creation—from downloading the PDF to adding personal touches—demonstrates genuine care. These aren’t just gifts; they’re experiences and memories in the making.
Coloring cards are budget-friendly, accessible for all ages, and encourage artistic expression. They promote quality time spent together, especially when children participate. Beyond the card itself, the act of giving a handmade gift conveys thoughtfulness and appreciation, making Mom feel truly cherished and loved.
Where to Find Free Printable Mother’s Day Coloring Cards (PDF)
Numerous websites offer free Mother’s Day coloring cards in PDF format, boasting collections of 13, 30, and 7+ designs for easy download and printing!
Popular Websites Offering Free Printables
Finding these charming coloring cards is remarkably easy! Several online platforms specialize in free printable resources, specifically catering to holidays like Mother’s Day. Many websites host extensive collections, allowing you to browse and download various designs directly as PDF files.
These resources frequently update their offerings, ensuring a fresh selection each year. You’ll discover options ranging from simple, child-friendly illustrations to more intricate patterns suitable for older children and adults. The convenience of PDF downloads means instant access and compatibility with most printers, making it a stress-free crafting experience. Explore these sites to unlock a world of colorful possibilities!
Specific Collections: Number of Available Designs (e.g., 13, 30, 7)
Explore a diverse range of options! Currently, you can find collections boasting over 30 high-definition Mother’s Day coloring pages available as free PDF downloads. Other sites offer curated sets of 13 beautifully designed cards, perfect for a smaller, personalized touch. For quick and easy coloring, collections of 7 sheets are also readily accessible.
These numbers represent the breadth of creativity available, ensuring you’ll discover the perfect designs to suit your needs and preferences. New pages are frequently added, so checking back often is recommended to uncover even more delightful options!
File Format: PDF Advantages
PDF format ensures universal compatibility, allowing easy access on virtually any device – computers, tablets, and smartphones. This format preserves the design’s integrity, guaranteeing crisp, clear printing every time, regardless of your operating system. PDFs are also excellent for sharing; simply email or upload the file without worrying about formatting issues.
Furthermore, PDFs are relatively small in file size, making downloads quick and convenient. They are ideal for printing multiple copies, ensuring everyone can participate in creating personalized Mother’s Day gifts!
Types of Designs Available
Explore a wide variety of designs, including floral themes, heartwarming hearts, cards for Mom, Grandma, and Nana, plus fun character and spring-themed coloring pages!
Floral Themes: Roses, Tulips, and More
Immerse yourselves in the beauty of blossoming floral designs! Many free printable Mother’s Day coloring cards showcase stunning roses, cheerful tulips, and a vibrant array of other flowers. These designs offer a classic and elegant touch, perfect for expressing love and gratitude.
Imagine coloring delicate petals and lush leaves, creating a personalized masterpiece for Mom. Whether it’s a bouquet of roses or a field of wildflowers, these floral themes provide a relaxing and rewarding coloring experience. These pages are ideal for all ages and skill levels, bringing a touch of springtime joy to your Mother’s Day celebrations.
Heart-Shaped Cards and Designs
Express your love with adorable heart-shaped Mother’s Day coloring cards! These designs symbolize affection and are readily available as free printable PDFs. Discover a variety of options, from simple heart outlines to intricate patterns within heart shapes, perfect for adding a personal touch.
Coloring these heartwarming designs is a wonderful way to show Mom how much you care. Whether you prefer bold, vibrant colors or soft, pastel shades, heart-shaped cards offer a sweet and sentimental gesture. These are ideal for children of all ages to create a truly special gift.
Cards Featuring “Mom,” “Grandma,” and “Nana”
Find personalized coloring cards specifically designed to celebrate “Mom,” “Grandma,” or “Nana”! These free printable PDFs offer a touching way to acknowledge the special women in your life. Numerous designs feature these endearing titles prominently, allowing for a customized and heartfelt gift.
Children can enjoy coloring these cards, adding their own artistic flair to express their love and gratitude. These options are perfect for creating a unique Mother’s Day present tailored to the recipient. Download and print today for a memorable celebration!
Character-Based Coloring Pages
Explore a delightful selection of character-based Mother’s Day coloring pages available as free printable PDFs! These pages feature popular and beloved characters, adding an extra layer of fun and excitement for children. Imagine Mom’s joy receiving a card colored with her child’s favorite figures!
These designs offer a unique twist on traditional Mother’s Day cards, appealing to kids of all ages. Download these charming PDFs and let creativity blossom as little ones personalize these special gifts. Perfect for adding a playful touch to your heartfelt celebration!
Spring-Themed Coloring Pages
Celebrate Mom with the vibrant beauty of spring using our free printable Mother’s Day coloring pages! These delightful PDFs showcase blossoming flowers, cheerful birds, and other iconic spring imagery. Designs like “I Love Spring” posters and magnolia nightingale illustrations are readily available for download.
Embrace the season of renewal and growth as children personalize these cards with their favorite colors. Spring-themed pages offer a fresh and uplifting way to express love and gratitude. Download these charming PDFs and create a truly memorable Mother’s Day gift!
How to Download and Print
Easily download Mother’s Day coloring pages as PDF files! Ensure PDF compatibility and adjust printer settings for optimal results on quality paper.
Ensuring PDF Compatibility
Most modern computers and devices natively support PDF files, eliminating the need for additional software. However, if you encounter issues, Adobe Acrobat Reader is a free and reliable option for viewing and printing. Verify your browser or operating system has a default PDF viewer assigned. If not, setting Adobe Acrobat Reader as the default will resolve most compatibility problems. Confirm the downloaded file isn’t corrupted by attempting to open it with multiple PDF readers. A successful opening indicates a properly downloaded and compatible file, ready for a personalized Mother’s Day touch!
Printer Settings for Best Results
For vibrant and clear Mother’s Day cards, select “High Quality” print settings on your printer. Choose “Color” mode, even if the design appears black and white, to ensure accurate reproduction. Opt for “Fit to Page” to prevent any cropping of the design. Experiment with different paper types – cardstock provides a sturdier base for coloring. Consider a test print on plain paper first to verify settings before using premium paper. Adjust brightness and contrast if needed for optimal coloring results, creating a truly special gift!
Paper Quality Recommendations
To elevate your Mother’s Day creations, select quality paper! Standard printer paper works, but cardstock (65-110lb) offers durability and a premium feel. Matte paper is ideal for crayons and colored pencils, preventing smudging. Glossy paper enhances marker vibrancy, but may require longer drying time. Consider textured paper for a unique touch. Heavier weight paper prevents bleed-through. Experiment with different colors for a personalized background. Investing in good paper transforms a simple coloring page into a cherished keepsake!

Customization Ideas
Personalize cards with loving messages! Enhance designs using crayons, markers, or colored pencils, and add glitter or stickers for a unique, heartfelt touch.
Adding Personal Messages
Transform your colored card into a truly cherished keepsake by adding a personal message! A handwritten note expressing your love and gratitude elevates the gift beyond a simple coloring activity. Consider writing a specific memory you share with Mom, Grandma, or Nana, or simply stating what makes them special.
Even a short and sweet message like “Happy Mother’s Day, I love you!” can make a significant impact. Encourage children to dictate their messages if they are too young to write independently. This personal touch demonstrates thoughtfulness and creates a lasting memento that will be treasured for years to come.
Using Different Coloring Tools (Crayons, Markers, Colored Pencils)
Experiment with various coloring tools to achieve unique effects on your Mother’s Day cards! Crayons offer a classic, textured look, perfect for younger children. Markers provide vibrant, bold colors, ideal for making designs pop. Colored pencils allow for detailed shading and blending, creating a more sophisticated finish.
Consider combining tools – outline with markers and fill with crayons, or use colored pencils for intricate details. The choice depends on the design and the artist’s preference. Don’t be afraid to get creative and explore different techniques!
Glitter, Stickers, and Other Embellishments
Elevate your personalized Mother’s Day cards with dazzling embellishments! Glitter adds a touch of sparkle and festivity, making the card truly special; Stickers, featuring flowers, hearts, or loving messages, provide instant decoration and charm. Consider adding sequins, ribbon, or even small, pressed flowers for a unique, textured effect.
Remember to use a suitable adhesive to securely attach embellishments. These additions transform a simple coloring page into a cherished, handmade keepsake, demonstrating extra thought and love for Mom!

Mother’s Day Coloring Cards for Different Age Groups
Find coloring pages tailored for every age! Simple designs suit toddlers, while detailed options challenge older children and adults, ensuring everyone can participate.
Simple Designs for Toddlers
For our youngest artists, select coloring cards featuring large, uncomplicated shapes and bold outlines. These designs, readily available as free printable PDFs, focus on easily recognizable images like oversized hearts, simple flowers – think tulips and daisies – and basic “Mom” or “Nana” lettering.
Avoid intricate patterns or small details that might frustrate little hands. The goal is to encourage participation and a sense of accomplishment, fostering creativity without overwhelming them. These toddler-friendly options allow for plenty of scribbling and color exploration, resulting in a uniquely personalized gift Mom will cherish.
More Detailed Designs for Older Children
As children grow, their coloring skills develop, allowing for more intricate designs. Explore free printable PDF coloring cards featuring detailed floral arrangements – roses and magnolias are popular choices – and more complex heart patterns. Many collections offer character-based pages, appealing to a wider range of interests.
These designs encourage patience and precision, providing a satisfying creative outlet. Older children can experiment with shading and blending techniques, creating truly beautiful and personalized Mother’s Day gifts. The availability of 30+ high-definition options ensures a diverse selection to suit every child’s preference.
Teen and Adult Coloring Pages
For teens and adults seeking a relaxing and creative outlet, intricate Mother’s Day coloring pages are readily available as free printable PDFs. These designs move beyond simple shapes, featuring elaborate floral mandalas, detailed portraits, and sophisticated patterns.
The act of coloring can be a mindful and therapeutic experience, offering a break from daily stress. These more complex pages encourage artistic expression and allow for a higher level of detail and personalization. Explore collections offering 30+ high-definition options for a truly immersive coloring experience.
Creating a Mother’s Day Coloring Book
Compile multiple free printable PDF coloring pages into a personalized booklet! Add a custom cover for a unique, heartfelt gift Mom will cherish.
Combining Multiple Pages into a Booklet
Transform your collection of free printable Mother’s Day coloring pages into a charming, personalized coloring book! Begin by downloading and printing your chosen PDF sheets – options range from sets of 7 to larger collections of 30+. Once printed, carefully arrange the pages in your desired order.
Fold the sheets in half to create individual booklet pages. A simple method involves stacking the folded pages and securing them along the spine with staples, ribbon, or even decorative tape. Consider adding a table of contents if you’ve included a variety of designs. This thoughtful gesture elevates a simple coloring activity into a truly special and memorable gift for Mom!
Adding a Personalized Cover
Elevate your homemade Mother’s Day coloring book with a uniquely designed cover! Use cardstock or heavier paper for durability. Decorate it with a heartfelt message like “Happy Mother’s Day!” or “Made with Love.” Consider adding a personalized touch – your child’s name, a special date, or a small drawing.
Enhance the cover further with embellishments like glitter, stickers, or colorful markers. You could even print a coordinating image from the free printable PDF collection. A beautifully crafted cover transforms the coloring book into a treasured keepsake, demonstrating extra thought and care for Mom!

Beyond Cards: Other Printable Mother’s Day Activities
Expand the fun! Utilize coloring pages as adorable gift tags or create a vibrant Mother’s Day banner for a festive celebration.
Coloring Pages as Gift Tags
Transform your beautifully colored Mother’s Day pages into unique and personalized gift tags! Simply cut out a section of the coloring page – perhaps a floral design or a heartfelt message – and attach it to your presents.
This adds a special, handmade touch that store-bought tags can’t replicate. It’s a fantastic way to utilize the entire printable collection, minimizing waste and maximizing creativity. Consider using different coloring tools to make each tag visually distinct.
These tags are perfect for adorning gifts of all sizes, adding a splash of color and a loving sentiment to any present for Mom, Grandma, or Nana!
Creating a Mother’s Day Banner
Design a stunning Mother’s Day banner using the free printable coloring pages! Select several pages with coordinating themes – florals, hearts, or loving messages – and have family members color them individually.
Once colored, cut out the designs and attach them to a length of ribbon or string, creating a festive garland. This collaborative project is a fun activity and results in a personalized decoration.
Hang the banner across a doorway, mantelpiece, or wall to surprise Mom with a vibrant and heartfelt display of affection!
Resources and Links
Access free printable Mother’s Day PDF downloads from various websites! Explore numerous designs, including floral themes and character pages, for a personalized touch.
Direct Links to Free Printable PDF Downloads
Embark on a delightful journey to download your free Mother’s Day coloring cards! Numerous online resources offer a plethora of printable PDF options. Discover collections boasting over 30 high-definition designs, perfect for all ages and skill levels. Find spring-themed pages, including magnolia and nightingale illustrations, readily available as downloadable files.
Explore websites offering complete coloring books with 7+ sheets, or individual pages to customize. These resources provide instant access to heartwarming designs featuring flowers, hearts, and loving messages. Prepare to unleash your creativity and craft a truly special gift for Mom, Grandma, or Nana!
Websites with Additional Mother’s Day Printables
Expand your search for Mother’s Day printables beyond coloring cards! Many websites curate extensive collections of free resources, including gift tags, banners, and coordinating activities. Explore platforms dedicated to printable crafts, offering diverse designs to complement your coloring creations.
Discover spring-themed posters and illustrations to enhance your gift-giving experience. These sites frequently update their offerings, ensuring a fresh selection of heartwarming options. Utilize these resources to create a complete Mother’s Day package, filled with personalized touches and heartfelt expressions of love.
Casa Patio del Panadero ⎯ A Tangential Note (Due to Internet Data)
Interestingly, data surfaced regarding Casa Patio del Panadero in Cádiz, Spain – a restored 19th-century guesthouse near La Caleta Beach and Torre Tavira.
Location and Features of Casa Patio del Panadero (Cádiz, Spain)
Casa Patio del Panadero, situated in the heart of Cádiz, Spain, occupies a beautifully restored 19th-century building. This charming guesthouse boasts a traditional Andalusian patio, around which the accommodations are arranged, offering a unique and inviting atmosphere. Conveniently located just minutes from the picturesque La Caleta Beach and the historic Torre Tavira, guests enjoy easy access to Cádiz’s key attractions.
The guesthouse provides free WiFi throughout the property, ensuring guests remain connected. Its proximity to Jerez de la Frontera Airport (approximately 50 km away) makes it easily accessible for travelers. It’s a delightful find, though seemingly unrelated to Mother’s Day coloring pages!
Proximity to La Caleta Beach and Torre Tavira
Casa Patio del Panadero benefits from an enviable location, a short stroll from the golden sands of La Caleta Beach, a celebrated and historically significant shoreline in Cádiz; Equally close stands the iconic Torre Tavira, a watchtower offering panoramic city views and a fascinating glimpse into Cádiz’s maritime past.
This convenient positioning allows guests to effortlessly combine relaxation on the beach with cultural exploration. While seemingly distant from the world of free printable Mother’s Day coloring pages, the area’s charm adds to the overall appeal of a Spanish getaway!
Airport Access (Jerez de la Frontera)
Casa Patio del Panadero is conveniently located approximately 50 kilometers from Jerez de la Frontera Airport (XRY), the primary air gateway serving the Cádiz region. While planning a trip to enjoy free printable Mother’s Day coloring pages, travelers should factor in roughly a 45-60 minute transfer time to reach the guesthouse.
Various transportation options are available, including taxis, private transfers, and potentially bus services. This accessibility makes it easier to combine a relaxing Spanish escape with crafting personalized gifts!

The History of Mother’s Day
Mother’s Day evolved from ancient celebrations honoring mothers and maternal bonds, blossoming into a modern holiday recognizing their love and influence.
Origins of the Holiday
The roots of Mother’s Day trace back to ancient festivals celebrating mothers and fertility, like the Greek celebrations for Rhea, the mother of gods. In the United States, the modern holiday began with Anna Jarvis in the early 20th century, advocating for a day to honor mothers’ sacrifices.
Jarvis envisioned a day of personal celebration between mothers and families, a sentiment somewhat lost with commercialization. While seemingly distant from free printable coloring cards, the core idea – expressing love and gratitude – directly inspires these DIY gifts. These cards offer a personalized touch, echoing Jarvis’ original intent.
Evolution of Mother’s Day Traditions
Initially, Mother’s Day celebrations involved personal visits and handwritten letters, mirroring Anna Jarvis’ vision. Over time, the holiday evolved, incorporating floral gifts, particularly carnations – Jarvis’ favorite. Commercialization led to restaurant outings and gift-giving, sometimes overshadowing the original intent;
However, the trend towards handmade gifts is resurging, and free printable coloring cards fit perfectly within this movement. These DIY cards offer a personalized, heartfelt alternative to store-bought presents, allowing children to express their love creatively, continuing a tradition of thoughtful gestures.
“Sift” ⎯ A Word Found in Related Data (Contextual Meaning)
“Sift”, meaning to separate fine particles, relates to carefully selecting the best free printable designs for a personalized Mother’s Day coloring card experience.
Definition of “Sift” (Tamizar, Passer, Cribler)
“Sift”, originating from Old English siftan, fundamentally means to put (powder, sand, or other material) through a sieve to separate out the finer particles. Its translations – tamizar (Spanish), passer (French), and cribler (French) – all convey this core action of separation and refinement.
Contextually, relating to free printable Mother’s Day cards, “sift” implies the process of carefully reviewing numerous available designs to select the most suitable and appealing options. It’s about discerning quality and choosing the perfect coloring page for a heartfelt, personalized gift. The act mirrors separating the best elements for a beautiful outcome.
Example Usage in a Sentence
After carefully searching online, we sifted through dozens of free printable Mother’s Day cards to find the perfect floral design for young Emily to color for her grandmother.
This selection process involved reviewing various websites offering PDF downloads, ultimately choosing a page with simple, yet elegant, roses. The act of “sifting” ensured a beautiful and personalized gift. These coloring pages, totaling 13 and 30 options, provide a creative outlet and a heartfelt expression of love, making Mom’s day truly special.

A Heartfelt Gift Made with Love
Ultimately, free printable Mother’s Day coloring cards offer a uniquely personal touch. Downloading these PDF sheets – with options ranging from 7 to 30+ designs – allows children of all ages to express their affection.
Beyond simply gifting a card, the act of coloring itself becomes a loving gesture. Whether using crayons, markers, or glitter, these pages transform into treasured keepsakes. Embrace the simplicity and joy of a DIY gift, creating a memorable Mother’s Day filled with warmth and appreciation.